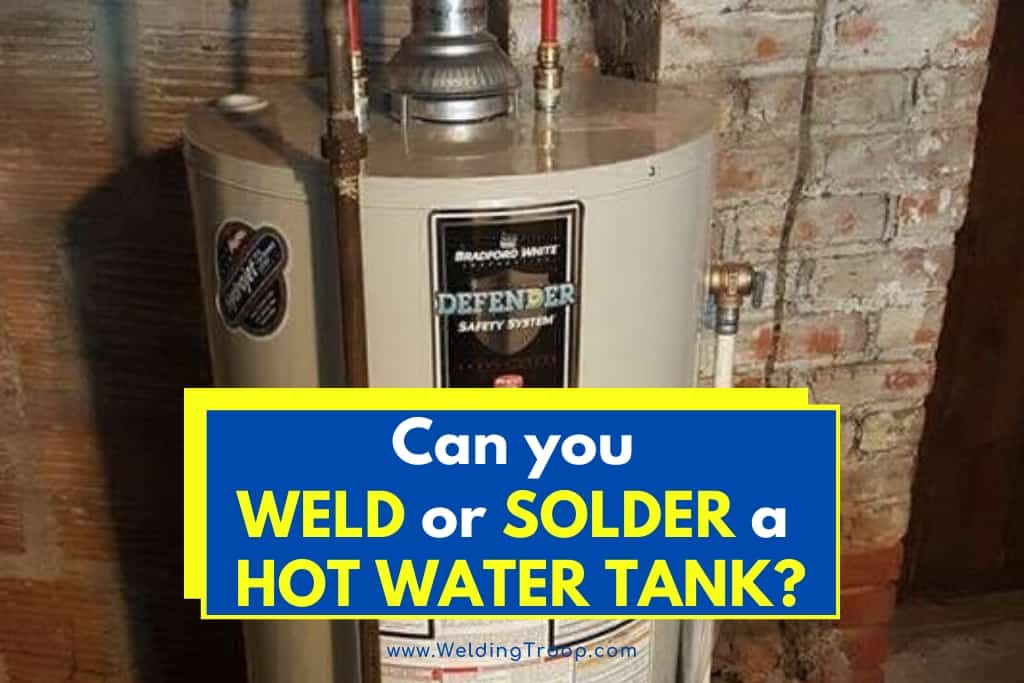
So, you have a damaged water heater, but have you wondered if you can weld or solder a hot water tank? You can solder and weld the tank, but you have to choose the right supplies and welder for the job.
Can you weld or solder a hot water tank? Yes, you can weld a hot water tank with a MIG or TIG welder, but a stick welder will not work well on the tank’s thin metal. Soldering should only be performed on the copper pipes connected to the tank but cannot be used on the tank itself.
Hot water tanks last for eight to ten years but often spring leaks due to incorrect pressure settings or harsh temperature changes. Homeowners often decide to purchase new tanks rather than fixing a damaged one. However, the damage that is not caused by corrosion can be repaired with a MIG or TIG welder.
When considering your options in repairing a hot water tank, you have to examine the type of metal the tank is made of and which shielding gas is suitable for the repairs.
Table of Contents
How Do You Weld a Hot Water Tank?
If you try to find a professional welder to fix your damaged water heater, you may run into problems. Depending on which welding process the welder specializes in, most welders refuse to repair water tanks.
Although you can repair a cracked tank, never attempt to fix a rusted hole or crack caused by corrosion. If a damaged spot is rusted, it’s likely the inside of the tank is also deteriorated.
Corrosion weakens the tank’s metal and decreases its ability to hold hot, pressurized water. If your tank is corroded, replace it immediately and do not attempt to repair it.

A water heater’s tank is made of thin metal and is not ideal for high-temperature welding. If you use an arc welder on the tank, you may experience burn throughs or porosity. The temperature of the arc is too intense for the thin surface of the tank.
MIG and TIG welders allow you to weld thin metals at a lower temperature. Unlike an arc welder, MIG and TIG use shielding gases to protect the weld from contaminates. Stick welders use flux-coated electrodes to protect the weld, but the weld requires a substantial cleaning process after it cools.
With MIG and TIG welders, the resulting bead is uniform and requires little effort to clean.
The following list displays the process of welding a hot water tank with a MIG welder.
| Step – Nr. | What to do |
| 1 | Prepare your workspace |
| 2 | Wear protective gear |
| 3 | Grind the metal near the welding area |
| 4 | Use straps to tighten the crack on the tank |
| 5 | Weld the tank |
| 6 | Make two subsequent welds to protect against future leaks |
| 7 | Clean the weld |
1. Prepare the Workspace
Before you weld, ensure that you’re working in a ventilated area. If you’re working outside, you’ll have to postpone the job if the wind is blowing over five mph. The shielding gas for MIG and TIG welders will blow away under light winds and cannot adequately protect the weld from contamination.
If your tank contains water, drain it before you use a welder. The presence of water on the other side of the weld will prevent your welder from heating properly. The tank cannot fuse to the filler metal if the water cools the metal.
Wipe the damaged tank with a clean, lint-free towel and remove any flammable material from the work area. A clean work area is essential for every welding project.
2. Wear Protective Gear
Before welding the tank, you’ll have to grab your helmet, gloves, apron, and respirator. If the wind is too intense for your shielding gas to work effectively, you can construct a windbreak around the workspace.
You can hang welding blankets around your location to block the wind. The blankets include grommets that allow you to string a cord or rope through the blanket to hang it.
Although you’ll grind the metal before you weld, some coated metal flakes may remain. These flakes can produce toxic fumes when you weld. Wear a respirator under your helmet to avoid the fumes.
3. Grind the Welding Area
To minimize the effects of the paint or coating of the water tank, you should always grind down the metal before you weld. Grind away a few inches on either side of the crack. After grinding, wipe down the metal to remove any flakes.
4. Strap Down the Tank
The crack on your tank may seem too large to mend with a welder. To decrease the size of the crack, use a compression strap to tighten the tank. The strap will bring the two sides of the crack closer together and will result in a stronger, more uniform bead.
5. Weld the Tank
Choose an appropriate filler metal for your tank before you begin welding. Check the product’s specifications to determine which metal is suitable for a steel or aluminum water tank.
You’ll also have to figure out which shielding gas to use for the project. For aluminum tanks, an argon/helium combination works best. If you have a stainless-steel tank, try using a nitrogen/helium combination.
Before you continue reading, here is an article we wrote about the welding gas: What Types of Gas Welding Are Commonly Used? | Are they popular?
Weld a single bead along the crevice and allow it to cool. Clean the bead with a wire brush and wipe with a clean rag.
6. Weld 2 More Beads
To ensure you’re first weld seals the crack, run a weld on either side of the first bead. This will result in three total beads and should prevent any future issues with cracking or leaking.
The triple bead method is not as attractive as a single weld, but it’s essential for creating a strong bond.
If you would like to watch an experienced welder perform this technique on an aluminum tank, check out the video below.
7. Clean the Weld
After you’ve finished the triple bead, clean the beads with a wire brush. Wipe the metal with a clean towel to remove residual flakes.
How Do You Solder a Hot Water Tank?
If the tank’s leak is coming from a pipe rather than the tank, you can solder the pipe fittings to stop the leak.
The following lists describe the correct steps to solder your tank’s pipes.
| Step – Nr. | Requirements |
| 1 | Clean the pipes |
| 2 | Apply flux |
| 3 | Adjust your torch |
| 4 | Solder the pipe |
Soldering hot water tank Step by Step >> Check out the video below
1. Clean the Pipes
Most leaks occur where two copper pipes meet. If you have a corroded or damaged pipe that is cracked or full of holes, replace the entire pipe before soldering. Wipe down the pipes and fittings with a dry cloth and ensure the tank is drained and disconnected.
2. Apply Flux
Apply a thin film of flux to the pipe fittings. This will protect the metal from contamination when it’s heated.
3. Adjust the Torch
Adjust your brazing torch to the medium setting. Soldering requires an even, consistent heat, but you must keep the temperature low due to the tank’s thin metal.
4. Solder the Pipe
Place your torch flame on the pipes’ fittings and slowly move it around to heat the metal. Touch the solder to the fitting after 10 to 15 seconds of heating and allow the solder to be drawn into the fitting. The process of capillary action allows the solder to seal the fitted pipes.
After the pipes cool, wipe them down with a dry rag and fill the tank with water. Connect the tank and restore the pressure to check for leaking.
Closing Remarks
A leaking water tank can lead to a huge mess and a loss of property. Corroded and heavily damaged tanks must be replaced, but slight damage that includes small cracks or holes can be welded.
After you determine which materials are suited for repairing your aluminum or stainless-steel tank, grab your welder, protective gear, and supplies, and get to work.