
There are many reasons to want to weld something from it being part of your job or working on a side project.
Whatever the case may be, the applications of welding are tremendous, and there are a lot of tools for it. So, what if you want to give welding a try with something like, say, a sparkler?
Can you weld with a sparkler? Yes, you can weld with a sparkler on small welds but is definitely not the most efficient method for anything big. Welding with a sparkler comes with a lot of complications and considerations outside of using standardized equipment.
Regardless of whether or not you will be using a sparkler as your main source of welding material, there are still a lot of general steps you need to take that are essentially the same.
You will be using the same tools, equipment, and proper conditions with a sparkler. In this article, I will also show the reason why welding with a sparkler isn’t recommended but can be done, nonetheless.
Table of Contents
Welding with a Sparkler
Although this is not at all suggested, let me first explain the downsides of this and ways we can mitigate those risks. The first thing to do is to know the type of sparkler that you are using, which is the traditional kind, made of either wood or metal.
For welding, you would want to use the metal type. Out of all the types of sparklers, they are the least special, but the most commonly used ones.
In the case of wood vs. metal, the two main forms of welding sparklers, the metal one is much better as it works as a better conductor.
First, they do not produce as much smoke and stay cool to the touch after it has already been used. Also, wood is a lot less costly due to the fact that it smolders more easily and breaks apart. Finally, it can stay very hot after it is done being used.
Now, we head on to the main process, which is the welding portion. You would essentially do the exact same thing, except, this time with a sparkler. The first thing you are going to obviously need is a welder at 110v, preferably.
The next thing you would have to do is get some protective and headgear and hand tools. These are very important for you, for both protection and efficiency. You would most likely need a hammer, safety goggles, and as well as leather gloves.
Further, you are going to need material to work with. Steel comes in all different sizes and shapes, but for sparklers, you would need a flat bar.
The bar should no thicker than ⅜ of an inch. Additionally, make sure that before working with a sparkler that the surface you are using is clean and dry. At the end of this, the sparkler will likely be creating a huge mess and you need room for it.
Paint usually melts when I weld over it and it can create a cavity within the metal. As an extra step, you can bevel both sides of the parent metal of the weld joint. Usually, a 45-degree bevel would work.
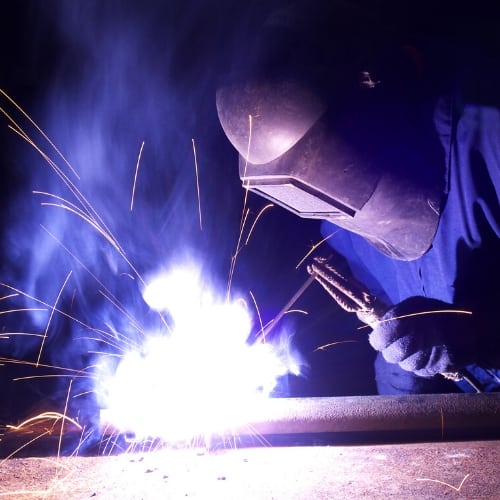
EXPERIMENT Arc Welding vs Sparklers >> Check out the video below
Continuing Steps
First, we need to test run the sparklers. With the electronegative, set it up so that it has 20 amps. Second, we want to measure the thickness of the rod just to be careful. Most sparklers should be less than 41 thousands of an inch thick.
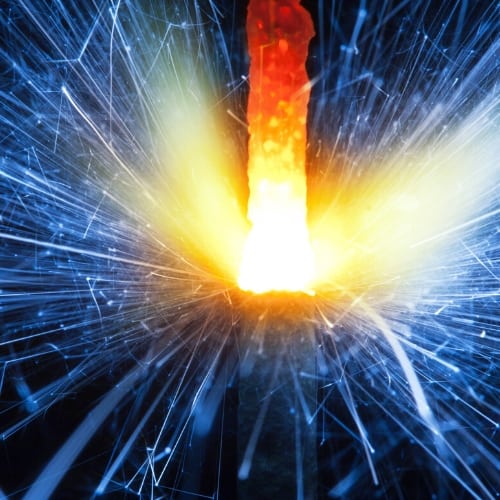
The only next step, really, is to connect a sparkler to the electronegative and see it activate. In the beginning, you won’t really feel it, but eventually, with the 20 amp supply, you are going to see it sparkle. Eventually, it will blow off completely and the sparkler will shrink out.
The aspect of this process that you need to make sure of is that you follow the whip and pause method with good ventilation. Essentially, this just means to wipe the wire or rod, and in this case a sparkler out of the metal, and back into it with a forward movement.
Since the sparkler is tiny and thin, it will most likely burn out before a proper whip and pause routine.
Another attempt could involve increasing the voltage to 110 amps. However, please use four or more sparklers so that the voltage has a distributive run-through.
This seems to be more effective in getting the job done. Eventually, however, due to the short lifespan of the sparklers, you are going to have to keep refilling before the welding can be completely finished.
General Preliminary Steps to Take when Welding
Usually, for beginners that want to start welding, safety is the very first step. There are a lot of things that can go wrong, regardless of the main tool that you are welding with. It is imperative take into account all safety precautions before you begin welding.
Firstly, you need to have a fire-resistant jacket and helmet, as well as gloves made of leather. Right now, the best helmet you could buy is the Viking helmet from Lincoln Electric. This helmet is both protective and auto-darkening so that you have improved visibility for it.
Finally, make sure that the room you are using is not super tight, you are going to need room to move around and for the air to circulate.
There are also two types of welding methods: through MIG (metal inert gas) or flux-cored. For a sparkler, this will be mainly the flux-cored method. The flux-cored way of doing it uses wire specifically designed for use regardless of gas shielding. If without gas, it is often said it is better to weld in the outdoors.
Before you continue reading, here is an article we wrote about welding with a blowtorch.
Stick Welding
Stick welding is usually the choice for beginners and easier to learn, especially with an uncommonly used tool like the sparkler. This is slower than MIG, but often more forgiving for mistakes, which makes it perfect if you are using the sparkler. However, a stick is not recommended for sheet metal welding.
The third aspect we have to consider is voltage, either 110v or 230v. The lower the voltage, the more sufficient and suited it is for thinner materials. The higher the voltage, on the other hand, is for thicker materials.
Another aspect we have to consider is what we are welding with the sparkler itself. Some processes and consumables are better for welding certain materials. As an example, you can weld aluminum with MIG, but you should expect better results using a spool gun to feed the consumable. If you are unsure, ask, and refer to the manufacturer guidelines.
A consumable, finally, is the term for the wire or filler material used in welding. You need to match your consumable with the welding process that works best for you. Of course, you can graduate into better and more advanced processes if you start off with the flux-cord process.
Conclusion
In essence, it is not recommended, whatsoever, to be welding with a sparkler. It is inefficient to use and very hard to clean up afterward. Furthermore, if you are not experienced, using sparklers are your first try in welding is a bad idea. Not only is it hard to use, but also very hard to control in terms of its consistency.
Although not a good idea, you can always go this route if you choose to. As always, sparkler or otherwise, safety is of paramount importance, and dealing with this first is going to be very helpful.
Finally, remember that you can use a four-sparkler system as a more effective means to distribute voltage when doing the whip and pause method. Using only one sparkler at a time will lead you to lose a lot of sparklers and clean up a lot of mess in the end.