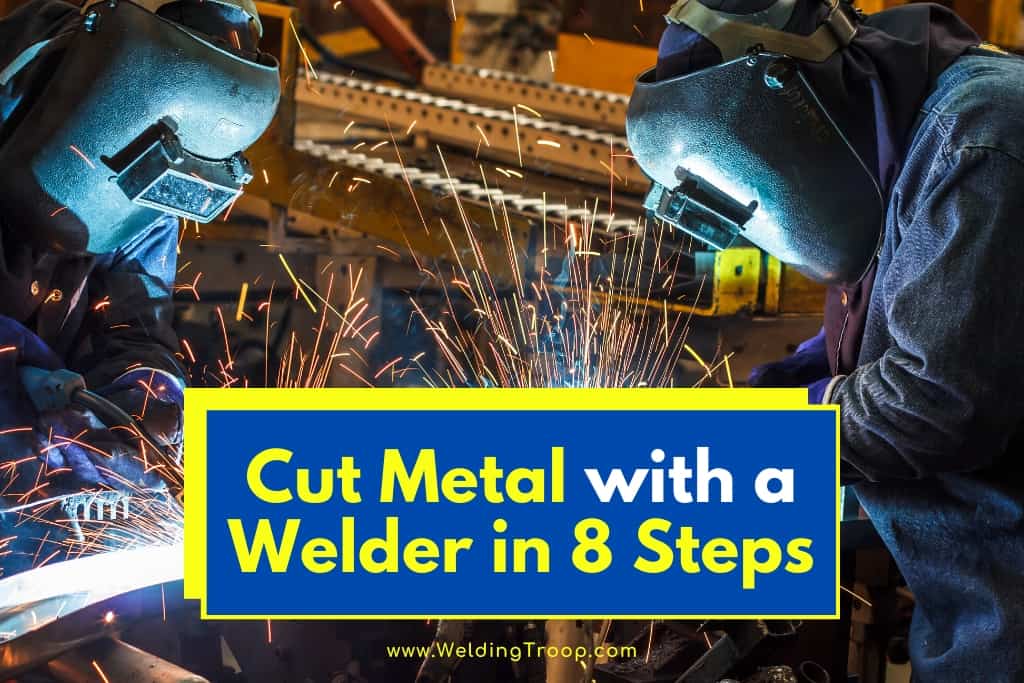
Welders are designed to join two pieces of metal, but in a pinch, they can be used to cut metal if you know how to properly set up your rig. The result is certainly not a clean cut, but if that is not a concern, or if you don’t have the equipment needed to cut it properly, a welder is capable of doing the job. It is a potentially dangerous operation, though, so only do so if you know how.
How do you cut metal with a welder? Set your welder to direct current electrode negative. Crank your amperage to over 200 amps. Use a 6010 or 6011 rod dipped in water or a specially designed cut rod. Start your arc on one side of the edge and move along the line, pushing molten metal out of the way with a sawing motion. Repeat as needed.
It cannot be stressed enough that this is not the ideal way to cut metal. Welders are not designed for this function and the result is messy and potentially dangerous. It is, however, possible. Some welders use this method when the cut does not need to be pretty and other equipment is not available or hard to use in their situation. Doing the proper steps reduces risks.
Table of Contents
Step 1: Take Safety Precautions
Welders are powerful machines that pose significant health risks. You must protect yourself from:
- electrical currents,
- hot metal,
- flying sparks,
- dripping molten metal,
- extremely bright light, and
- toxic gases
Personal protective equipment and a properly staged welding site are essential for cutting metal with a welder safely.
Only use your welder in a well ventilated area. The process of cutting metal with a welder produces a lot of smoke. If you must do this indoors, make sure there are vents, fans, or at least open windows so that the smoke and fumes can be blown away. Accumulated smoke can reduce visibility and cause respiratory damage.
When using a welder to cut metal, always wear the following personal safety equipment: Make sure it fits well and is not damaged.
- Welding gloves,
- welding face shield,
- long sleeved protective clothing, and
- work boots
Make sure your equipment fits well and is not damaged.
Welding Gloves
Welding gloves are insulated to protect your hands from both
- heat (9,900 degrees Fahrenheit (5,500 degrees Celsius)) and
- electricity (at least 200 amps).
A welder works by creating a strong electrical current through the welding rod and the piece of metal being cut.
Cutting metal requires a lot of electrical energy, which creates tremendous amounts of heat. You don’t want to risk touching any of it with your bare hands.
Related reading: Choosing Welding Gloves: The Only Guide You’ll Ever Need
Welding Face Shield
As the electricity passes through the metal, the energy is released as tremendous amounts of both heat and light. When doing any type of welding, you need to wear a face shield that protects both your:
- face and
- eyes
The shield prevents sparks from coming in contact with the skin of your face, and the visor’s glass protects your eyes from being damaged by the bright light.
As a welder, you know that you need to protect your eyes from the bright light of the arc. When cutting metal with your welder, though, you will be using even higher amperage, which will result in more heat and, more importantly, more light. Just as using a plasma cutter creates a brighter arc, using your welder to cut metal will result in much brighter light.
- If you are using an adjustable welding helmet, turn the UV protection dial to 11 or 12.
- If you have a fixed glass visor shield, make sure the glass is rated high enough to protect from the amount of light that would be emitted by a plasma cutter
Make sure it is well fitting and functioning properly.
Related reading: How To Choose A Welding Helmet: What To Consider
Long Sleeved Protective Clothing
The process of cutting metal with a welder will produce a lot of sparks. The molten metal produced by the electrical current passing through the rod and base metal comes in contact with the (relatively) much cooler metal surrounding the weld area and reacts by erupting in a shower of sparks. Each one is a burning droplet of molten metal.
These sparks can burn your hair and skin. Wearing a long-sleeved shirt and pants prevents the sparks from making contact. The clothing should be a protective material like
- denim or
- leather
Neither should be able to catch fire.
Work Boots
In addition to flying sparks, the act of cutting metal with a welder will create drops of molten metal that will fall through the cut. These could land on your feet, so you want to wear protective work boots (again leather or some other non-flammable material) to protect your skin.
Because you are using your welder to cut through a piece of metal (as opposed to joining two pieces of metal) your actions may result in a piece of extremely hot metal falling to the floor when you are done. Depending on the size of the piece of metal you are cutting off, you should wear steel toed boots to protect your feet from this falling piece of hot metal.
Step 2: Set Up Your Welder
Setting up your welder to cut metal means more than just plugging in the grounding lead and the welding rod handle lead into their respective color-coded sockets on the side of the machine and turning the machine on. You’ll need to tweak the welder’s settings in order to get enough power to cut through metal.
Make sure your welder is in a well ventilated area before adjusting the following settings.
Direct Current
Many welders offer the option of either:
- direct current (DC) or
- alternating current (AC)
Alternating current options can be beneficial for welding into a corner or to reduce arc blow, especially when welding metal that is magnetized. When cutting through metal, however, you will want the full penetration offered by direct current.
Related reading: What’s The Difference Between AC And DC Welding >> AC vs. DC
Electrode Negative
When running your welder on direct current (DC), you have the option of making the electrode:
- positive
- negative
This determines which direction the current flows, either from the rod into the metal to be cut, or from the metal to be cut into the rod.
By selecting to make the electrode negative, you will have more cutting power because ⅔ of the heat will be directed into the metal to be cut. It will then melt twice as fast, resulting in a quicker cut. If you were to make the electrode positive, on the other hand, only ⅓ of the heat would be directed into the metal to be cut, making the cutting process take twice as long.
Related reading: What Does DCEN Stand for in Welding?
200+ Amps
Cutting metal with a welder takes a lot more energy than welding does. When welding, you only need to melt enough metal to create a pool that will cool into a join of solid metal. When cutting, though, you need to melt through the entire piece of metal. At least 200 amps should be enough to cut through any metal.
If your welder has an:
- “arc force” or a
- “dig” button
make sure it is selected because it will further boost the amperage.
Step 3: Prepare the Metal to be Cut
Cutting metal with a welder will never be very precise, but that doesn’t mean you shouldn’t prepare the metal in order to make the cut as straight as possible. Mark the desired path of the cut with engineer’s chalk so you have a guide to follow once the arc is sparked.
If the piece of metal is small, clamp it in place to prevent it from moving during the cut. Clamp the grounding lead onto the metal to be cut so an arc or current can be produced.
Here, you can find an article from our website about all metals which can be MIG welded.
Step 4: Select a Welding Rod
Because welders were not designed to be used to cut through metal, the process is very destructive to the welding rod that you use. If the rod you select isn’t durable enough it will combust in the process faster than the metal, you want to cut. Thus, when cutting metal with a welder, use either:
- spare, damaged rods you don’t mind ruining, or
- rods designed for cutting
6010 or 6011 Rod
If using cheap rods, you already have lying around, you’ll want to choose a 6010 or 6011 welding rod. These rods are designed to gouge into the metal while the arc is lit, allowing you to push molten metal out of the weld area. A 7018 welding rod, on the other hand, produces less heat and will deteriorate faster under cutting conditions.
If going this route, you’ll want to select a rod that is already damaged or used because it will be used up fairly quickly during the metal cutting process. There is no sense using brand new rods because they won’t make the cut any faster or cleaner.
One way you can prolong the use of these cheap rods is to dip them in water prior to beginning the arc. The water on the surface of the rod will help distribute the heat, allowing the rod to last a little bit longer during the cutting process.
Related reading: Different Types of Welding Rods and Their Uses
Cutting Rod
The other option is to use a welding rod designed for cutting through metal.
Even though welders are not designed to cut through metal, the practice is common enough that some manufacturers have developed welding rods designed to be able to stand up to the destructive practice better than typical welding rods.
These cutting rods:
- have a nonconductive core that is heat resistant,
- allow you to operate at higher amperage
- create greater blasting action.
As a result, these specialized cutting rods last longer and cut faster than regular rods, saving:
- time
- fuel
- labor
Cutting rods are more expensive. Typically, you can buy a pack of 4 cutting rods for 10 to 15 dollars, while you can buy 5 pounds (several dozens) of 6010 or 6011 rods for 30 dollars. The choice is really between using many cheap regular rods or fewer more expensive cutting rods to make the same cut.
Step 5: Cut the Metal
Line up your welding rod parallel with the line you wish to cut. Start on one end and initiate the arc. Once the arc is begun, gouge the rod into the weld area to blast out any pooling molten metal. Keep the rod in contact with the base metal and gently pull back and forth in a sawing motion as you progress through the line of the cut.
- If the metal is a quarter inch or less thick, you should be able to cut entirely through the base metal in one go. In this instance sawing the rod will push the molten metal through the cut. You may need to backtrack a little bit to knock out bridging formed by globs of the metal landing behind the path of the rod. If allowed to cool these bridges would act as a weld joining the parts.
- If the metal is too thick to cut through all at once, gouging the rod into the cut will displace the molten metal from the groove formed by this cutting process. If left in the crevice, it would harden, creating a weld that is actually stronger than the original piece of metal you were intending to cut through.
- If your intent is to cut a hole through the piece of metal (as opposed to cutting a line) simply continue digging the rod deeper into the base metal instead of moving along a cut line. Once you are fully through the base metal, you can widen the hole by passing the rod around the perimeter of the hole.
Step 6: Repeat if Necessary
Even with your welder’s set to direct current electrode negative and the amperage cranked up as high as it will go, you will still only be able to cut through about 3/8ths of an inch of metal at a time. If the metal to be cut is thicker, you will need to make multiple passes in order to cut through.
This is also the case if the length that you want to cut is too long. The process of cutting metal with a welder is extremely destructive to the welding rod used. This is why people often choose to use damaged rods because they know it’s not worth using new rods since the rod will be devoured by the process.
Rods that are designed for cutting also are destroyed by the process, they are simply designed to last longer. If the cut you wish to make is either long or deep, you will likely have to replace the rods as they are used up to finish the cut.
Step 7: Allow the Metal to Cool
Once the cut has been made, you’ll need to take a little break. The edges of the cut will have been heated to 9,900 degrees Fahrenheit (5,500 degrees Celsius) and will need some time to cool.
Ideally you will be able to simply leave the pieces as they are while they cool. The fan system you have set up to blow the smoke and toxic fumes away will also aid in dissipating the heat and speeding up the cooling process.
If you are in a rush, you can cool the metal more quickly by dipping them in a tank of water. In this case the heat will be dispersed to the water, cooling the metal quickly. This sudden change of temperature could have negative effects by creating stress in the metal from the sudden change.
If you are cutting metal with a welder, however, it is likely that the quality of the cut is unimportant and thus the risk of stressing the metal is a moot point.
Step 8: Clean the Edge if Necessary
Cutting metal with a welder is a messy process, and the resulting cut is equally messy. It will look like you decided to cut down a tree with a machine gun. It’s more of a series of connected holes than a straight line. The line is only as straight as you can guess and there will inevitably be a craggy edge of dried metal slag along the cut edge.
Chances are if you’ve chosen this method to cut metal, you are simply trying to cut slag metal into easier to deal with size. In this case, you will not care about the quality of the cut, though you should be careful not to cut yourself on the uneven edge formed during transportation.
If you are only cutting with a welder because you do not have access to a plasma cutter, torch, circular saw with a metal blade, reciprocating saw, or a hack saw, you will need to do extensive grinding to smooth out the edge before it is suitable for use or welding.
Related reading: How to Start & Grow A Welding Business In 11 Steps
Cutting Metal With A Stick Welder >> Check out the video below